Two Steps to Follow For Students Enrolled in My Class
|
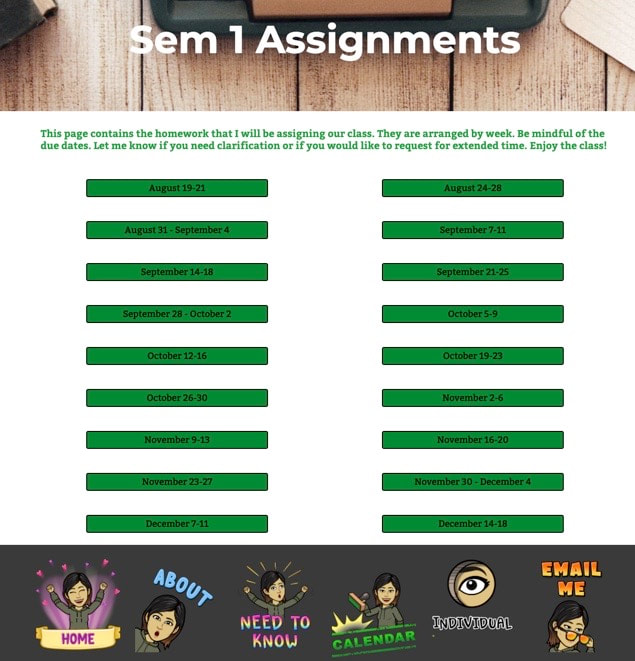
STEP 1: Students open Semester 1 tab. This page houses all the assignments grouped by week.
|
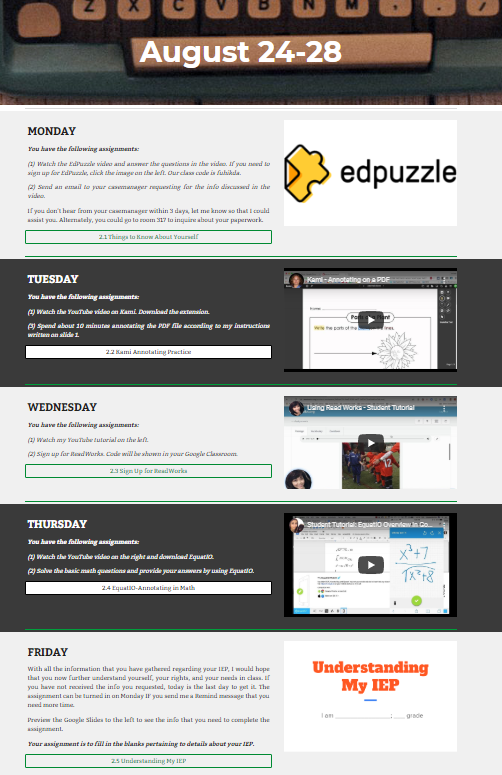
STEP 2: Upon opening Semester 1 tab, it takes them to the assignments for that week. They can click on the day they want to work on.
STEP 3: When the students click on the assignment button, it takes them directly to their Google Classroom where the assignment is ready to be completed! |
|
|
Three Steps to Follow For Students Who Are On My Caseload
But Not Enrolled in My Class
|
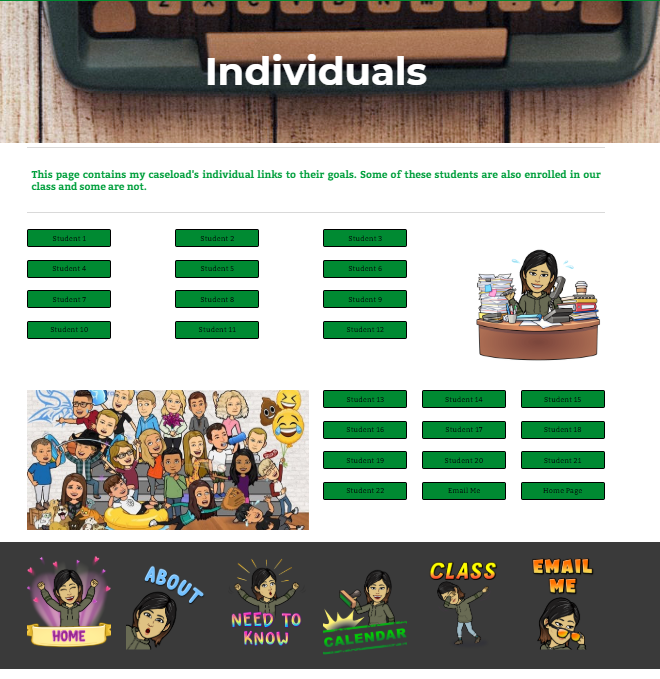
Step 1: Open the tab INDIVIDUALS and click on your assigned student number.
|
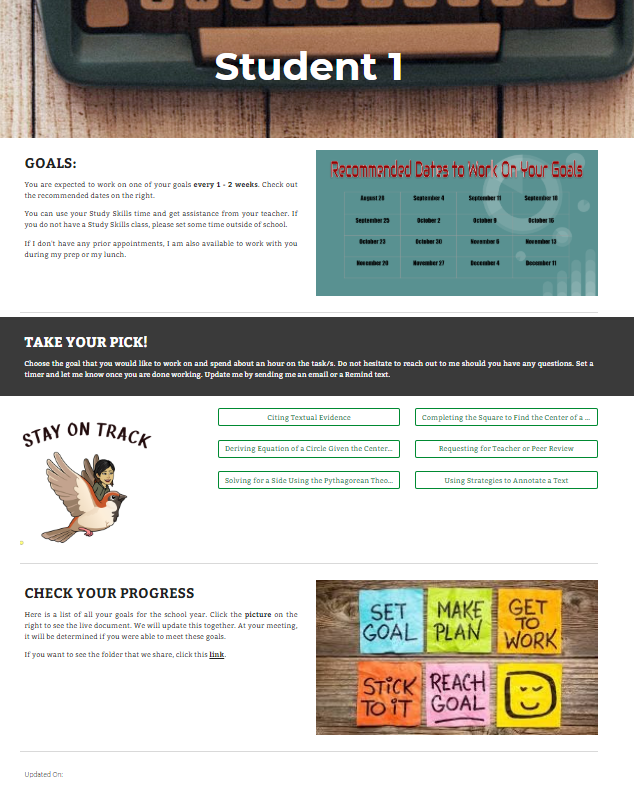
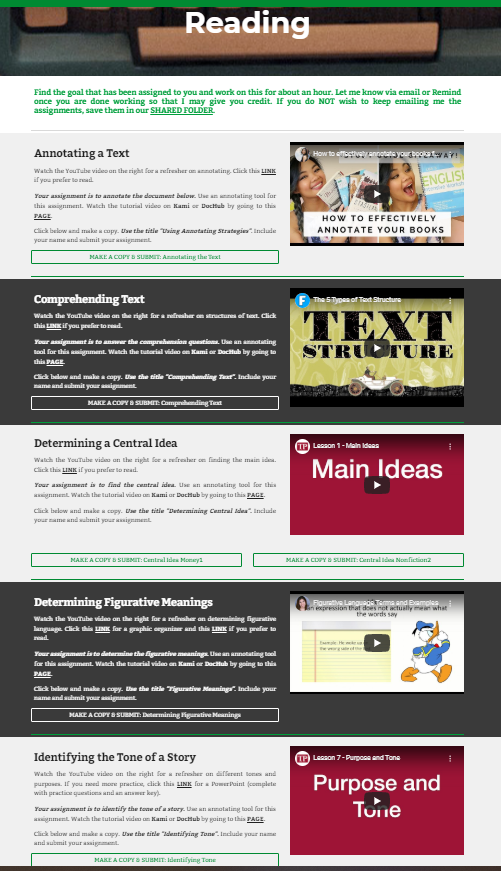
Step 2: On your new opened page, scroll to the middle and choose the goal you would like to work on.
|
|
|
|
The Goal Bank page looks like this. You won't really be seeing this page but I just want to show you the different types of goals that are covered.
|
Step 3: Scroll the page to find the title of the goal that you want to work on. Work on it for about 30-35 minutes and come back next week! You may submit any assignment that you finish.
|
|
|
TIPS: These steps are taken AFTER you have built your Google Site. I will post a tutorial video on this one soon. |
1. First, organize the assignments you want to post for that week. Choose the assignment you would like to post first and make sure you have the correct setting (either for viewing, for commenting, or for editing).
2. When posting the assignment, choose the option "make a copy for each student". 3. After it posts, copy the link for that assignment. 4. Go to your Google Sites and paste this link on the button that you want them to click. 5. Repeat steps 1-4 for the next assignment. |
